TL;DR:
- Proper venue assessment and equipment selection are essential to ensure clear, reliable audio.
- Early involvement of AV professionals improves planning, setup, and troubleshooting outcomes.
- Continuous monitoring and quick troubleshooting during events prevent audio failures and enhance attendee experience.
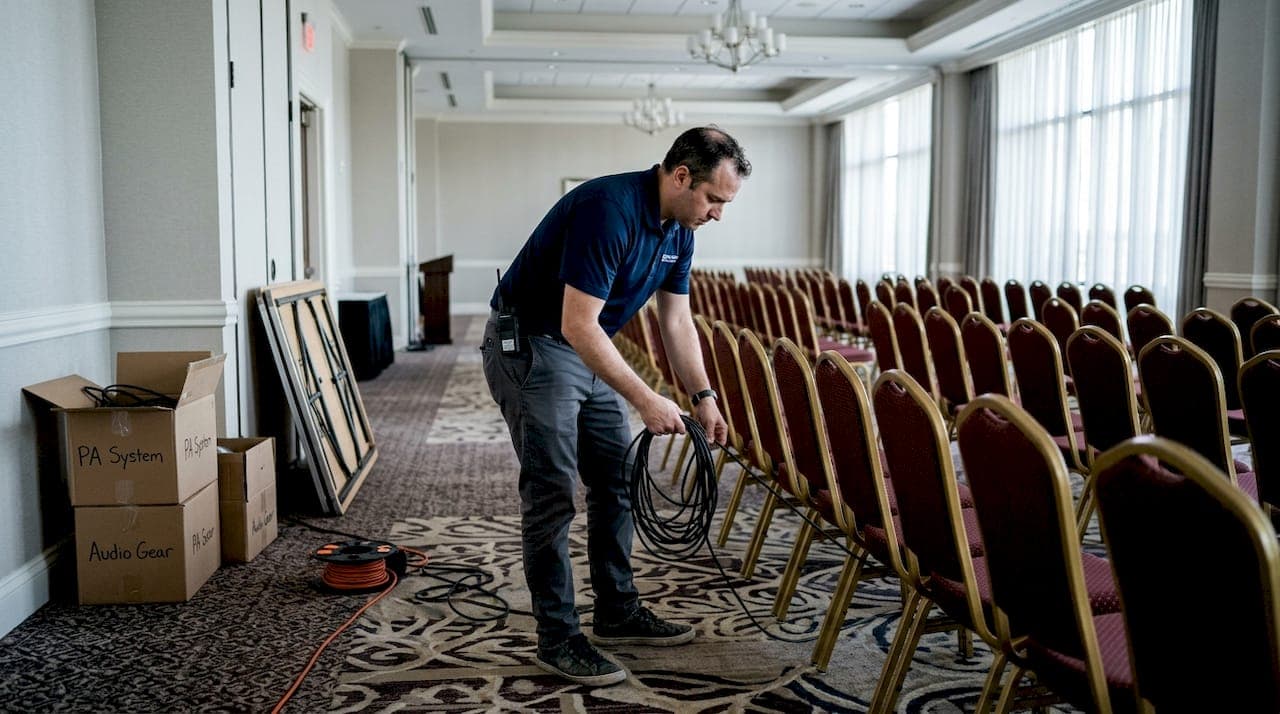
A single moment of feedback squeal or a dropped microphone signal can unravel hours of careful event planning. Corporate conferences depend on clear, consistent audio to keep attendees engaged, speakers confident, and sessions running on schedule. When audio fails, credibility suffers and the entire event experience is compromised. This guide walks you through every stage of a professional event audio setup, from assessing your venue and selecting the right equipment through to live troubleshooting. Whether you are organising a boardroom briefing or a large-scale national conference, the strategies here will help you deliver audio that performs without interruption.
Table of Contents
- Defining the requirements and choosing the right equipment
- Pre-event preparation: Layout, testing and safety
- The step-by-step event audio setup process
- Testing, verification and troubleshooting during the event
- What most planners miss about event audio setups
- Connect with expert solutions for your next event
- Frequently asked questions
Key Takeaways
| Point | Details |
|---|---|
| Start with clear requirements | Defining event goals and venue constraints sets up the entire audio process for success. |
| Pre-event testing is critical | A thorough sound check and layout review reduces the risk of technical failures. |
| Follow setup steps consistently | Structured execution prevents missed connections and ensures reliable performance. |
| Monitor and troubleshoot live | Quick detection and resolution of audio issues maintains attendee engagement and event professionalism. |
| Work with experts | Involving AV professionals delivers polished outcomes and confidence throughout your event. |
Defining the requirements and choosing the right equipment
Now that we have established why audio is crucial, let us focus on the essentials before setup begins. Every successful audio setup starts with a clear picture of what the event actually needs. Jumping straight to equipment selection without assessing the venue and programme is one of the most common and costly mistakes planners make.
Start by evaluating three core factors: venue acoustics, expected audience size, and session objectives. A reverberant ballroom behaves very differently from a carpeted boardroom. Hard surfaces reflect sound and create echo, while soft furnishings absorb it. Understanding your audio visual setup types early allows you to match equipment to the environment rather than fighting against it.
Here is a checklist of key requirements to confirm before you order or hire any equipment:
- Venue dimensions and surface materials (hard floors, glass walls, high ceilings)
- Expected audience size and seating arrangement (theatre, classroom, banquet)
- Number of speakers and presenters who will use microphones simultaneously
- Session types (keynote, panel discussion, Q&A, workshop)
- Connectivity requirements (laptop audio feeds, video conferencing integration)
- Accessibility needs (hearing loop systems, assistive listening devices)
Once you have that list confirmed, equipment selection becomes straightforward. The table below compares the most common audio components for corporate events:
| Equipment | Best suited for | Key consideration |
|---|---|---|
| Lapel microphone | Keynote speakers, presenters | Requires body pack transmitter |
| Handheld wireless mic | Q&A sessions, panels | Easy to pass between participants |
| Boundary microphone | Boardroom, round-table discussions | Picks up multiple voices from a flat surface |
| Line array PA system | Large venues, 300+ attendees | Even sound distribution across long distances |
| Column array PA system | Medium venues, 80 to 300 attendees | Narrow vertical dispersion reduces ceiling reflections |
| Digital mixing console | All events | Enables precise EQ and level control |
Selecting the appropriate PA system is vital for speech clarity and event engagement, particularly when the audience exceeds 100 people. The audio event impact on attendee satisfaction is significant, and poor speaker coverage is one of the leading causes of negative post-event feedback. Following AV best practices from industry bodies like AVIXA helps ensure your selections meet professional standards.
Pro Tip: Always plan for 20 per cent more audience capacity than your confirmed registration numbers. Late additions and last-minute seat changes are common at corporate events, and undersized audio coverage is very difficult to correct on the day.
Pre-event preparation: Layout, testing and safety
With your requirements established, let us prepare the technical groundwork to guarantee reliable audio delivery. Equipment selection is only the beginning. How you position, connect, and test that equipment determines whether it performs under real event conditions.
Begin with a scaled floor plan of the venue. Mark speaker positions, cable runs, mixing console location, and power sources. Avoid placing speakers directly in front of microphones, as this is the primary cause of feedback. Position the mixing console where the operator has a clear sightline to the stage and can hear the room accurately.
Follow this numbered sequence for your pre-event sound check:
- Install and connect all equipment according to your floor plan before any other event setup begins.
- Power up in the correct sequence: amplifiers and speakers last, to protect equipment from power surge noise.
- Test each microphone individually, checking gain levels and signal path through the console.
- Set gain structure by speaking at a normal presentation volume, not shouting, to calibrate realistic levels.
- Walk the room with a colleague while a technician monitors levels at the console to identify dead spots or hot zones.
- Check all cable connections for secure seating and label every channel on the mixing console.
- Run a full programme simulation, including any video or laptop audio feeds that will be used during the event.
The table below summarises typical sound check results and what they indicate:
| Test result | Likely cause | Recommended action |
|---|---|---|
| Feedback squeal | Speaker too close to microphone | Reposition speaker or adjust EQ |
| Low output from microphone | Gain set too low or battery issue | Increase gain, replace battery |
| Uneven room coverage | Incorrect speaker angle or position | Adjust speaker aim or add fill speaker |
| Hum or buzz in signal | Ground loop or cable fault | Check cable integrity, use DI box |
Safety note: Cable management is non-negotiable. Tape all floor cables securely and use cable ramps in high-traffic areas. Keep volume levels within safe limits, particularly for extended sessions, to protect both attendee hearing and equipment longevity.
Professional sound checks and equipment safety are key to preventing disruptions on the day. Review your AV checklist workflow and confirm your audio setup process aligns with the venue's specific requirements. For additional guidance, live sound check tips from Sound On Sound offer practical, engineer-level advice.
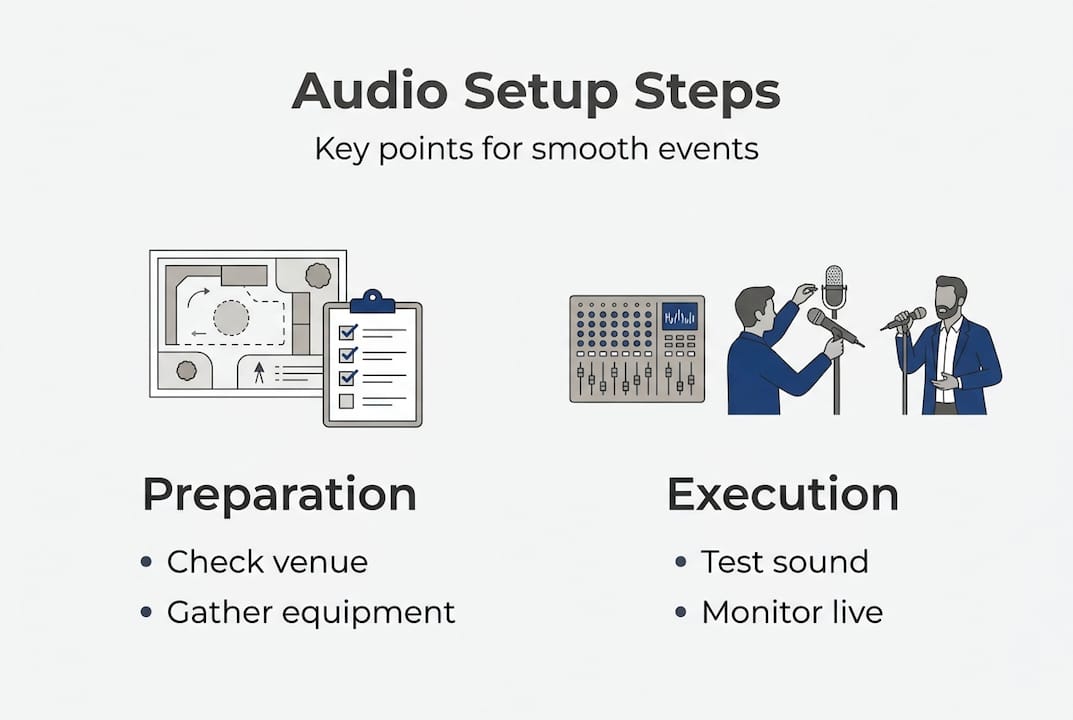
The step-by-step event audio setup process
Preparation complete. It is time for hands-on execution that brings your event audio to life. Even experienced planners benefit from a structured sequence, because skipping steps under time pressure is where errors creep in.
Follow this sequence on event day:
- Arrive early and confirm all equipment is on-site and undamaged.
- Install speakers and stands at positions confirmed in your floor plan.
- Run all signal cables from the stage to the mixing console before connecting power.
- Connect microphones and audio sources to the console and label every channel clearly.
- Power up the system in sequence: sources first, then the console, then amplifiers.
- Conduct a final sound check with a presenter or stand-in at the actual microphone positions.
- Set monitor levels for any on-stage speakers or in-ear monitors used by presenters.
- Brief your AV operator on the event runsheet, including any microphone handovers or audio cue changes.
Following a structured audio setup checklist reduces errors and improves event outcomes, particularly for multi-session programmes where equipment is reconfigured between rooms. Refer to our AV solutions for a broader view of what a fully managed setup includes, and review our large event AV guide if you are managing a conference with multiple concurrent sessions.
Pro Tip: If a wireless microphone drops signal during setup, check for radio frequency interference from Wi-Fi routers, mobile networks, or other wireless devices operating on the same frequency band. Coordinating frequencies in advance prevents this entirely.
Common pitfalls to avoid during execution:
- Skipping the gain structure step, which leads to distorted or clipped audio
- Using consumer-grade extension leads instead of professional power distribution units
- Failing to brief presenters on correct microphone technique and positioning
- Leaving spare batteries and cables inaccessible during the live event
- Ignoring monitor feedback from presenters who say they cannot hear themselves clearly
The event audio guide from Event Manager Blog reinforces many of these principles with real-world examples from large-scale events.
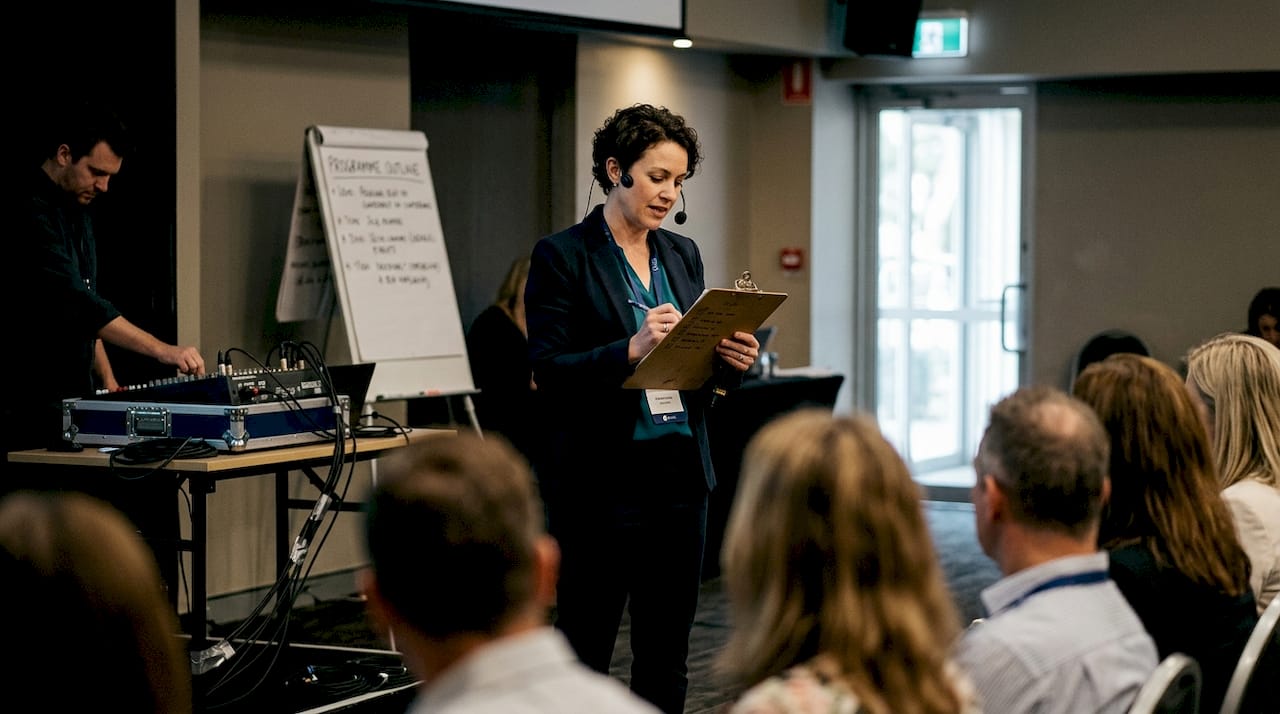
Testing, verification and troubleshooting during the event
With the system running, let us ensure nothing derails the audio experience during your live event. Even a perfectly prepared setup can encounter issues once an audience fills the room and the acoustic environment changes.
Run these fast verification checks as the event begins:
- Listen from multiple positions in the room during the opening minutes to confirm even coverage.
- Monitor console meters to ensure levels are consistent and no channels are clipping.
- Watch for presenter microphone positioning and signal a technician if a lapel mic shifts or a handheld drops too low.
- Confirm backup microphones are charged, tested, and within reach of the stage.
- Check wireless receiver signal strength indicators throughout the session.
Up to 85% of attendees rate audio quality as a critical factor in their overall event experience. That figure alone justifies having a dedicated AV operator monitoring the system throughout every session rather than leaving it unattended after setup.
Technician advice: Resist the urge to make large, sudden adjustments during a live session. Small, incremental changes to levels or EQ are far less disruptive than dramatic corrections that can introduce feedback or cause noticeable volume shifts for the audience.
Immediate troubleshooting can salvage event outcomes and prevent negative attendee impressions. Familiarise your team with the AV management process so everyone knows their role when an issue arises. For equipment-specific guidance, audio troubleshooting tips from Bose Professional cover common failure scenarios in detail.
What most planners miss about event audio setups
Beyond step-by-step processes, let us dig into what separates ordinary setups from truly seamless experiences. Most planners approach audio as a technical checklist. Tick the boxes, hire the gear, run the sound check, and move on. That approach gets you to functional. It rarely gets you to exceptional.
What we consistently observe is that the events with the most reliable, polished audio are not the ones with the most expensive equipment. They are the ones where the planner and the AV team worked together from the earliest planning stage. When AV technician expertise is brought in at the brief stage rather than the setup stage, the entire programme benefits. Room layout decisions, speaker positioning, and even the choice of microphone type all improve when an experienced technician has input before anything is locked in.
The uncomfortable truth is that most audio problems we see at corporate events were preventable. They stem from decisions made weeks earlier, not from failures on the day.
Pro Tip: Involve your AV partner in the venue site inspection, not just the bump-in. A technician who has walked the room understands its acoustic character and will make better equipment and positioning decisions as a result.
Connect with expert solutions for your next event
Having covered actionable advice, here is how to turn expert guidance into real-world results.
At Conference Audio Visual, we specialise in delivering tailored audio solutions for corporate events across Australia. From equipment selection and layout planning through to live event management, our experienced team handles every technical detail so you can focus on your programme.
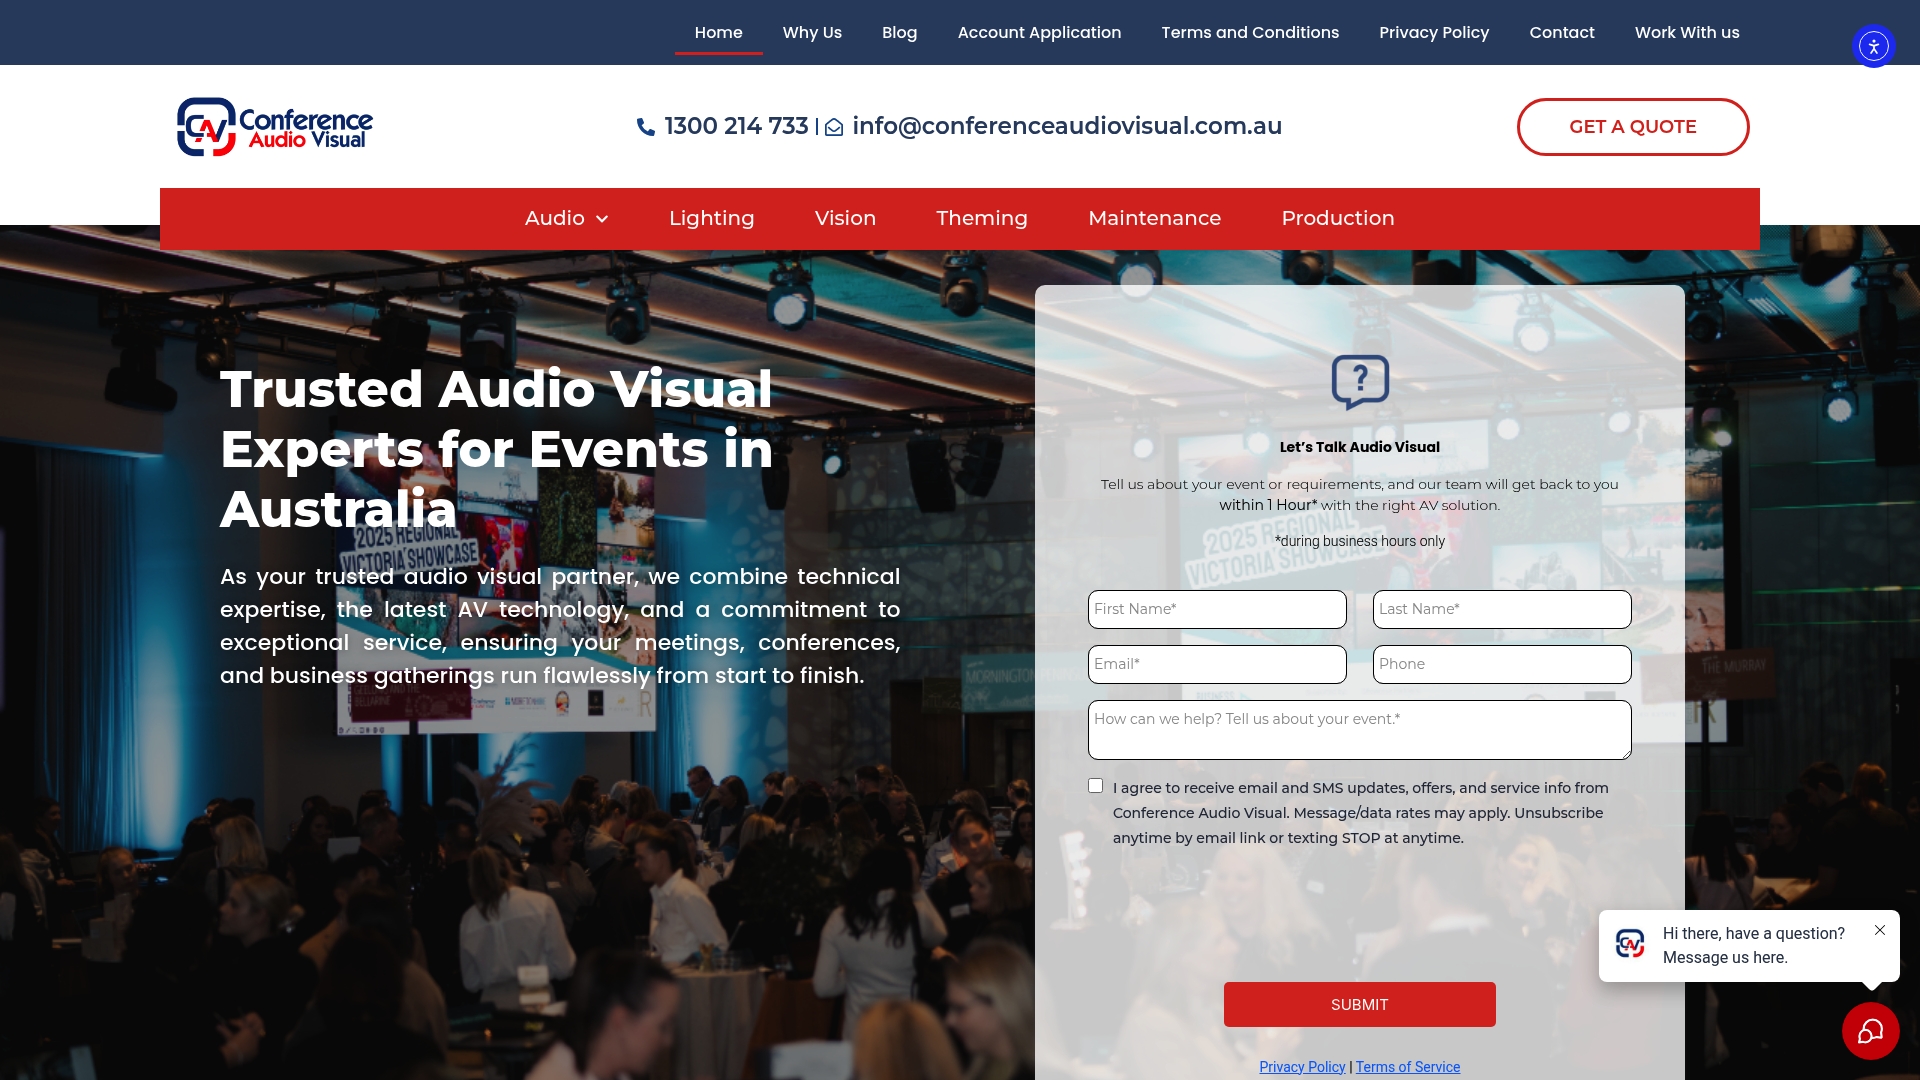
Our audio visual solutions are designed to match your specific venue, audience size, and session requirements. We also offer a structured event management process that keeps your entire AV programme on track from the first planning call to the final pack-down. Contact us today to discuss your next corporate event and receive a tailored quote.
Frequently asked questions
What is the most common mistake in event audio setup?
Underestimating venue acoustics and audience size leads to poor sound clarity and coverage. Selecting the appropriate PA system early in the planning process is the most effective way to avoid this.
How early should you begin audio setup for a corporate event?
Aim to start audio setup at least one day before the event to allow adequate time for sound checks and troubleshooting. Professional sound checks are key to preventing disruptions on the day.
How can you quickly troubleshoot audio issues during a live event?
Check mixer and cable connections first, verify microphone functionality, and adjust levels systematically using small increments. Immediate troubleshooting prevents minor issues from escalating into session-stopping failures.
Should corporate event planners always use AV professionals?
While basic setups can be managed internally, professional AV technicians guarantee seamless delivery and rapid issue resolution. A structured audio setup checklist reduces errors and significantly improves event outcomes.